So you have your tripod, 360 degree camera and have taken your first set of photos from your first instruction. What do you do now? Simply follow the instructions below and you will have uploaded your first virtual tour in minutes.
We are assuming that you have studied how to use your 360 degree virtual tour camera and have already been to a property and have taken a shot in each of the rooms required, making sure that you are not in the room while taking the shots.
Copy the photos which you have taken of the property to your computer and name them appropriately e.g. lounge, kitchen, bedroom etc. Have them ready for the next steps below:
Step 1
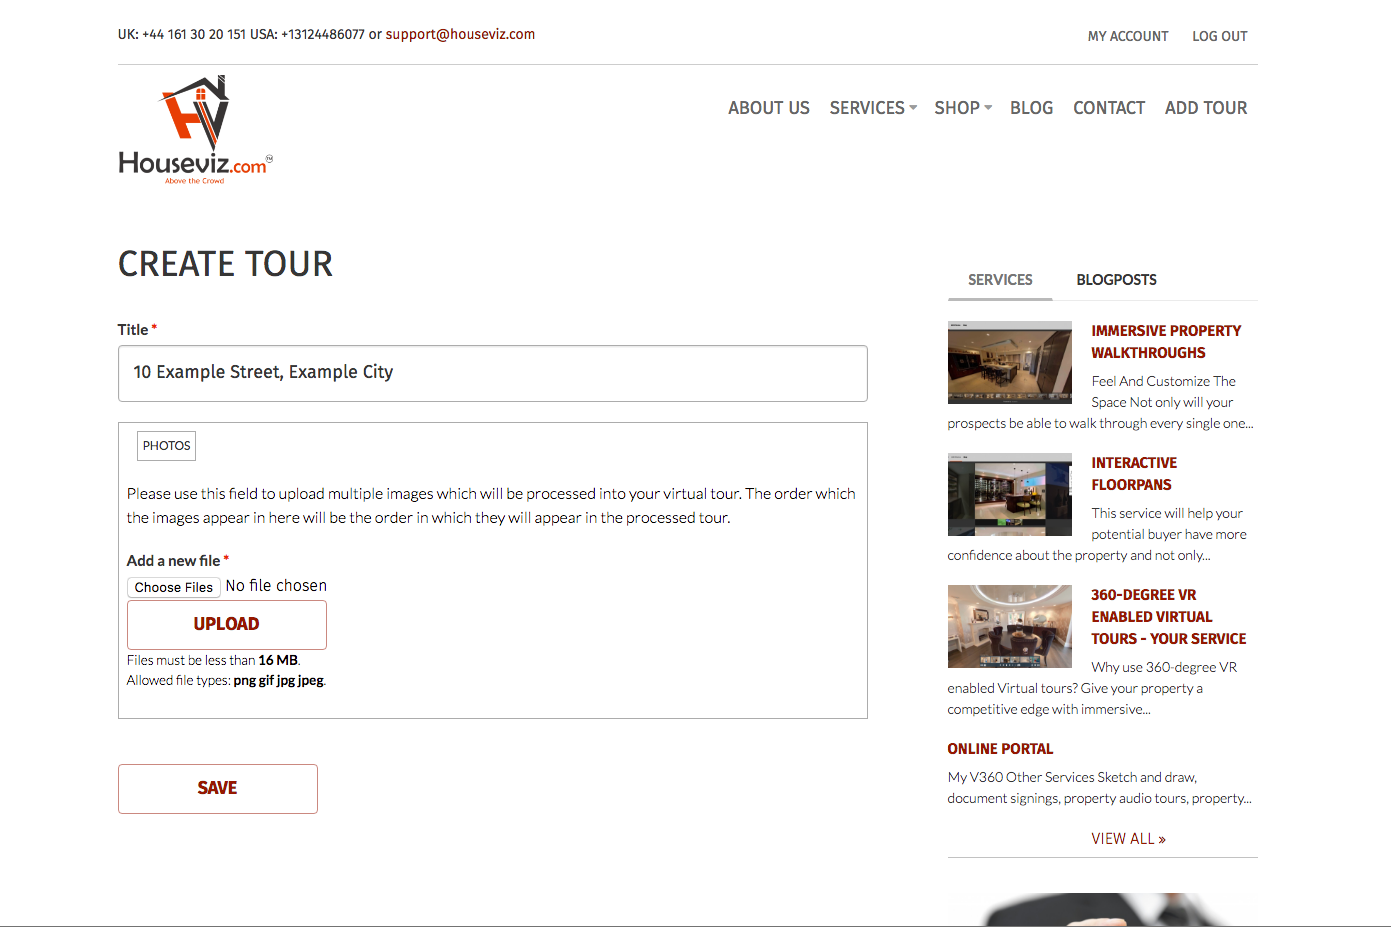
Click on the "add tour" link on the top right and you will be presented with the add new virtual tour screen. Give the property a title.
Step 2
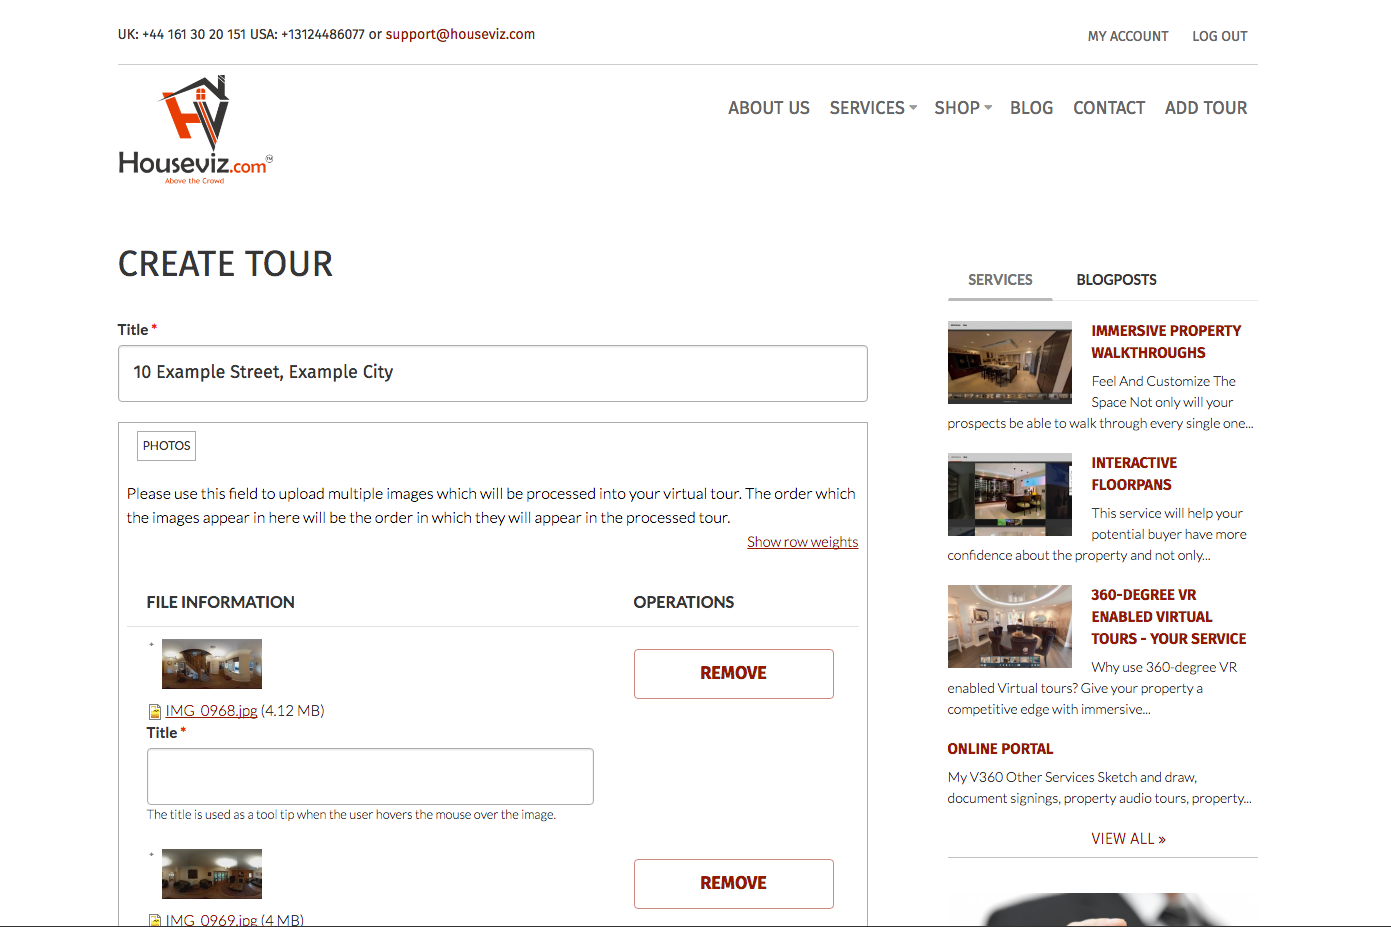
Click on the choose files button or drag and drop your property images onto the choose files button and then click on the upload button to start uploading your photos. Please allow time for them to upload depending on the speed of your internet connection.
Step 3
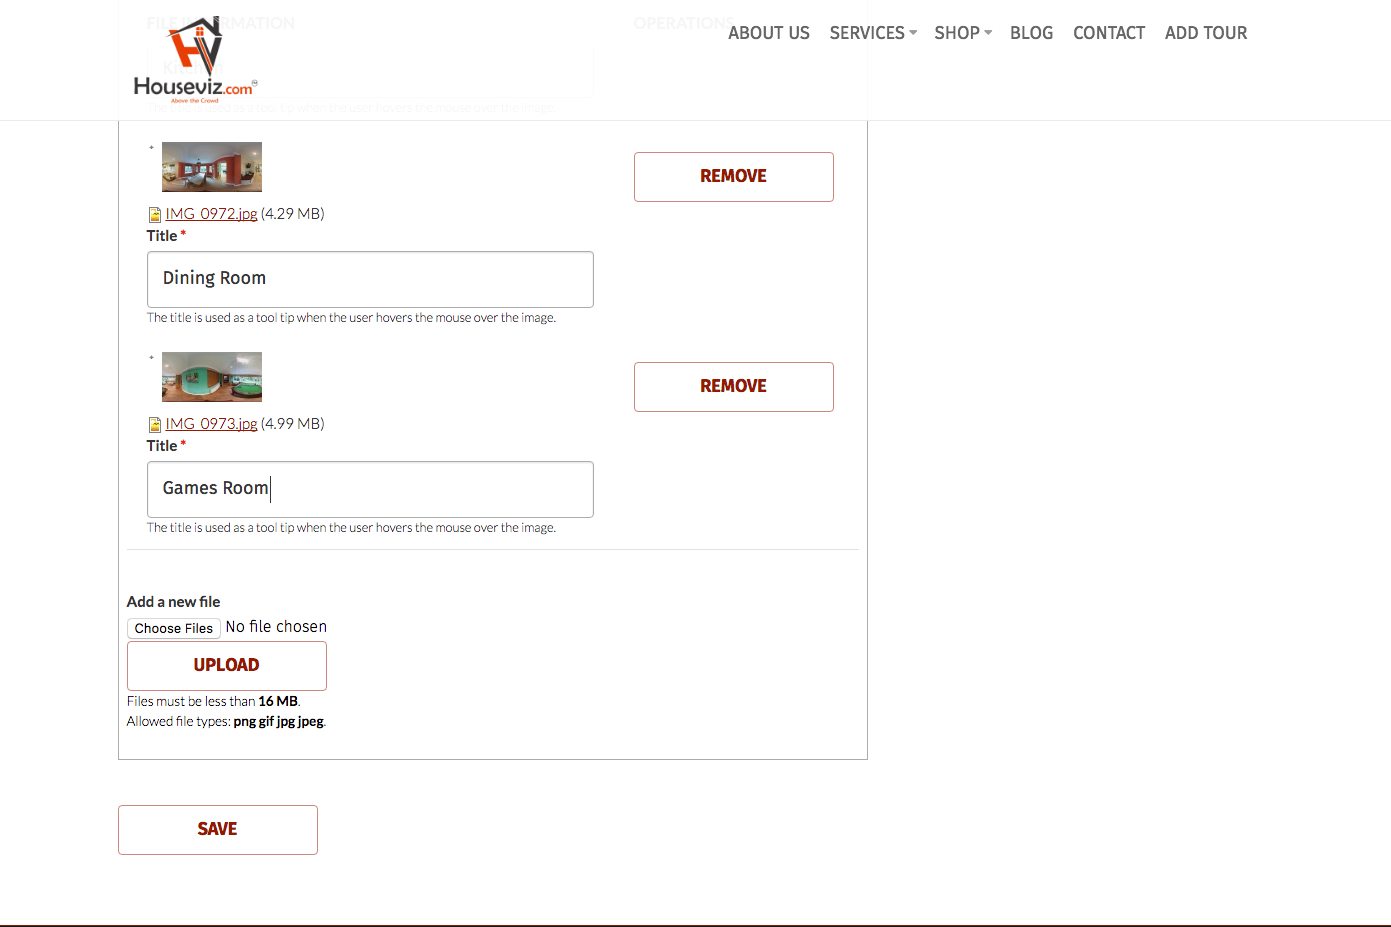
Add a title for each of the rooms / images as appropriate e.g. lounge, bedroom etc. These titles are required. Click on the submit button at the bottom of the page when you have finished.
Step 4
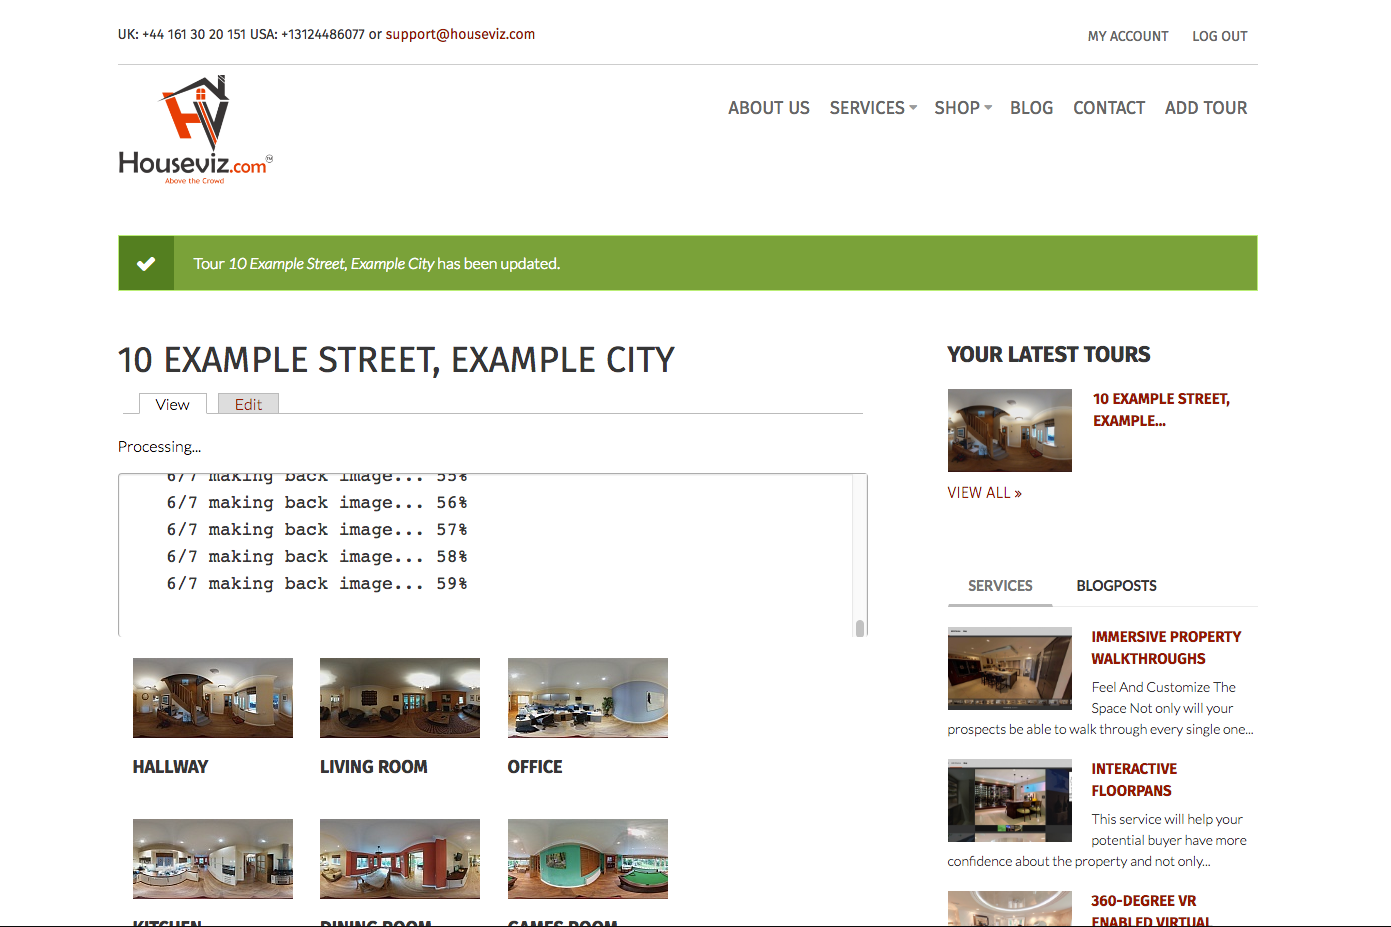
The virtual tour is processing. At this point you can do other things such as add another tour or simply wait till the tour has finished processing. This normally takes 2-3 minutes.
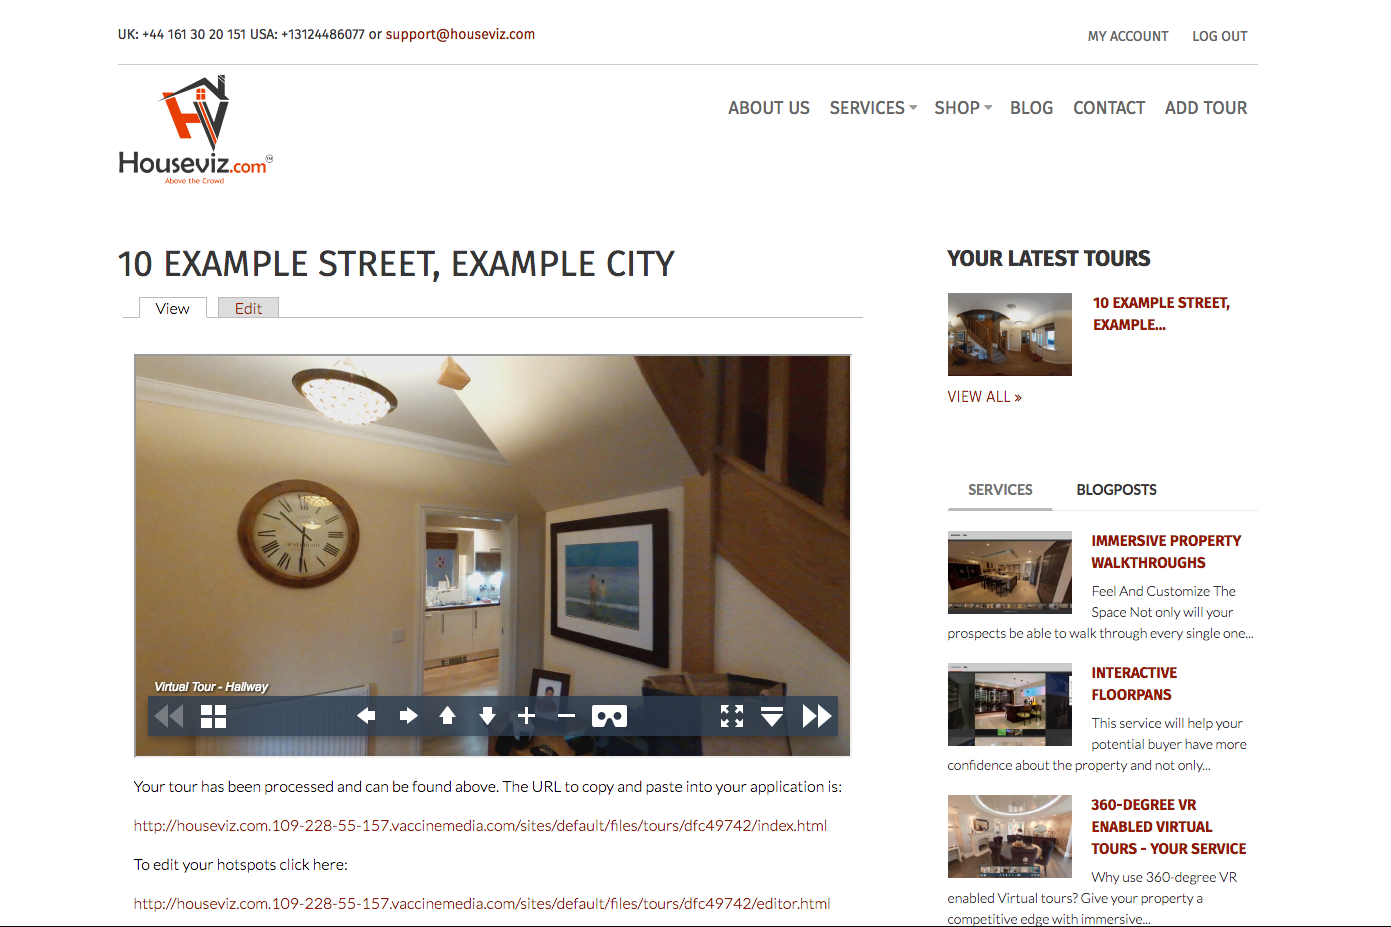
Step 5
Congratulations! You have added a virtual tour! You will see 2 links when viewing the tour. The first one is a link for your property portal, the second is a link to the hotspot editor and there is also an embed code underneath if this is what your portal expects to see.